
Credit: diynetwork.com
To install a tile backsplash, you will need: wall tiles, a tape measure, a pencil, grout, a dry tile cutter, pumice stone or sandpaper, wall tile adhesive, a notched trowel, a wide putty knife, tile spacers, a tile float or squeegee, and a sponge.
- Step 1: Mark the center of the wall, then measure the distance between the bottom of the cabinet and the countertop. Subtract a quarter inch for the bottom grout line. Now, mark a tile with the measurement. For the sides, measure and mark the width of the area you want the backsplash to cover.
- Step 2: Cut the tiles to size. Place a tile in the dry cutter to fit the measurement. The machine will first score the tile then, when you press the bar down, it will actually snap the tile at the score line. Make sure you’ve got some extra tiles in case you make a mistake. Test the tile size on the wall, and smooth the rough edges with a pumice stone or sandpaper.
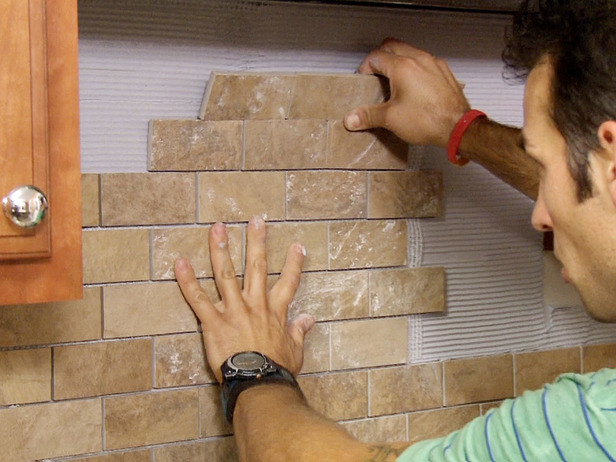
- Step 3: Beginning at the center, apply enough tile adhesive with the putty knife to adhere one tile to the wall. Texture it with the trowel to enhance adhesion. Put the tile in position. Move it around slightly before leaving it in its final place. Carry on working in each direction – using the tile spacers along the bottom for the grout lines and between the tiles.
- Step 4: Let the adhesive cure overnight. Remove the tile spacers. Mix the grout and use the tile float or squeegee to fill the spaces around the tiles. Leave the grout to dry overnight. The excess can be removed with water and a sponge.
Although you can install your own tile backsplash, you may get better results with professional installation and experience.


